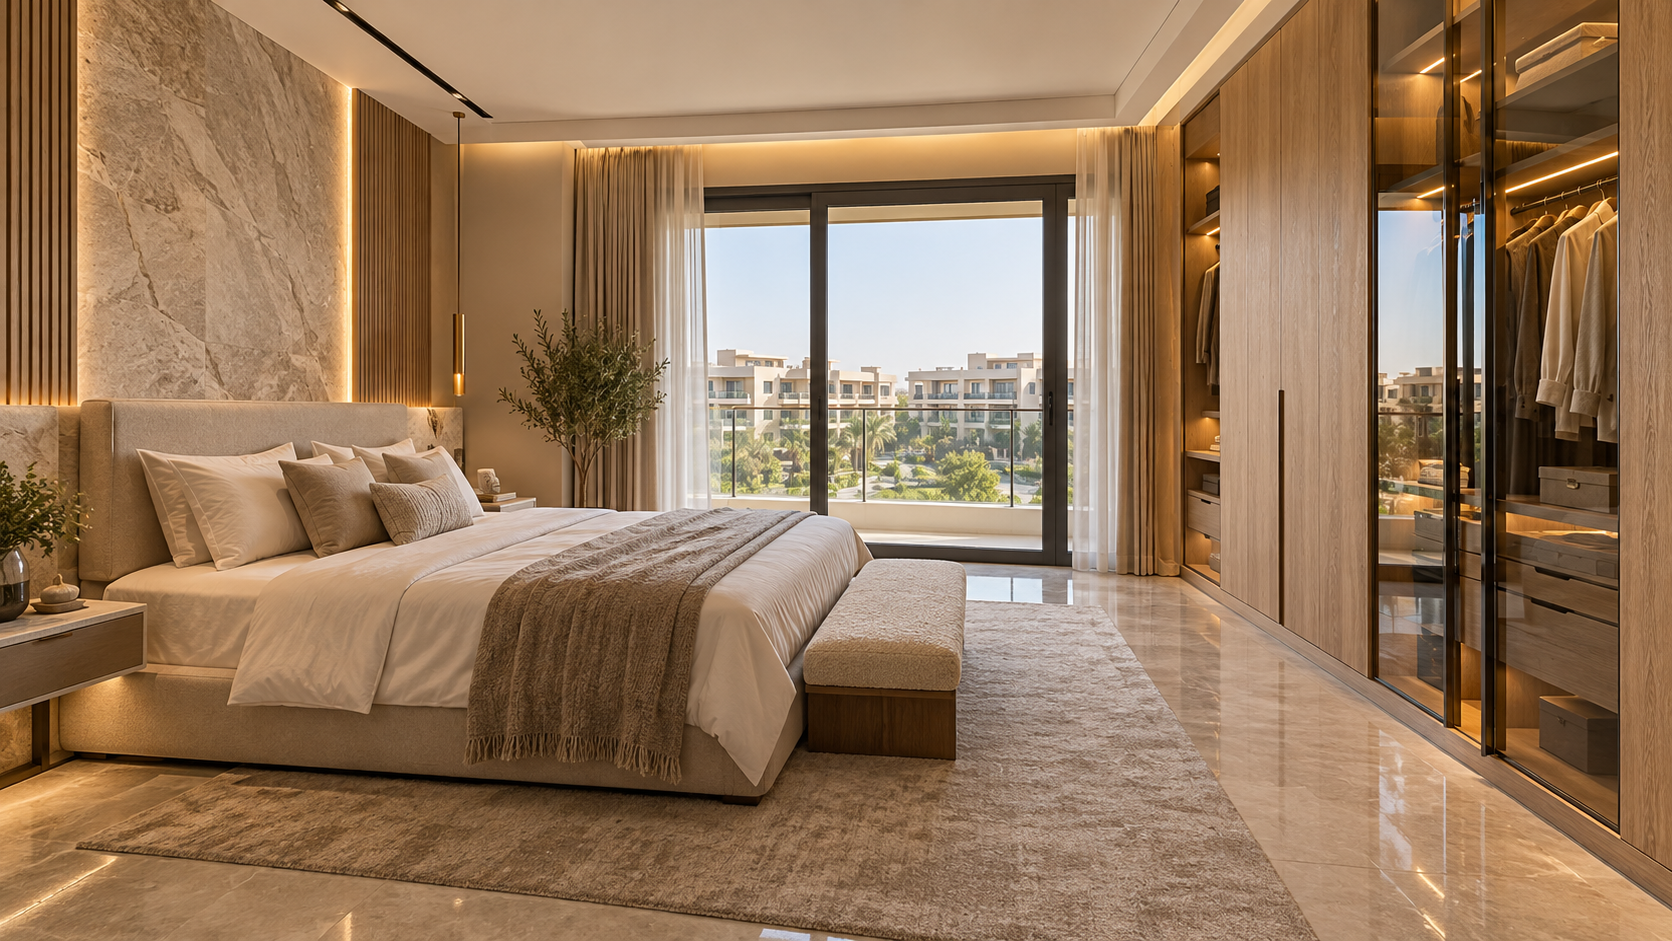

Villa Finishing: Stages, Materials & Practical Advice
Explore every stage of villa finishing, how to choose materials and interiors, the factors that affect costs and practical advice for delivering your villa.
Building Design 8 min read
Villa finishing is a key stage in determining a home's comfort, quality and final appearance. It involves much more than paint colors and flooring: space planning, electrical and plumbing work, suitable materials, and interiors that support your family's everyday needs.Whether you are finishing a new villa or renovating an existing one, it helps to understand the sequence of work, the factors affecting cost, and how to choose materials and a construction team. Good planning reduces unnecessary changes and balances quality, appearance and budget.
What Does Villa Finishing Include?
Villa finishing is the work that turns a shell or partially plastered building into a home ready for use. Depending on the project scope, this includes surface preparation, electrical and plumbing installations, flooring, paintwork, ceilings, doors, lighting and final fittings.
Villas can have different requirements from apartments because of multiple floors, outdoor areas, stairs, façades and varied uses. Plan around the particular building rather than applying the same design to every property.
Explore more options through our finishing and design services.
Villa Finishing: The Stages from Start to Handover
1. Site Survey & Requirements
Begin by surveying the building, reviewing drawings and identifying the work required. For a new villa, establish what remains after construction. For a renovation, assess existing finishes and services before deciding what to retain or replace.
Define the number of rooms, how each space will be used, your storage, lighting and appliance needs, and an initial budget. This information supports a realistic plan and reduces repeated changes during construction.
2. Interior Design & Space Planning
Interior design coordinates colors, furniture, lighting and materials. Start with a suitable design direction, whether modern, classic or minimalist, then choose colors and materials that suit the villa's dimensions and intended use.
Review furniture layouts before construction, checking room dimensions, door positions and circulation routes. A 3D design can help you visualize rooms before buying materials or committing to final details.
To explore the design options, visit our interior design page.
3. Electrical & Plumbing First Fix
Electrical and plumbing work needs careful planning before walls are closed or floors installed. Define the positions of switches, sockets, lighting, appliances and sanitaryware, alongside water supply and drainage routes.
Qualified tradespeople should install services to the approved drawings and technical requirements, with inspections and tests before anything is concealed. Overlooking this stage can mean removing completed finishes and incurring avoidable costs.
4. Plastering & Surface Preparation
After the necessary services have been installed and checked, plastering and surface preparation can begin. Address visible defects and check the alignment of walls and ceilings before painting or applying final finishes.
Surface preparation affects the final appearance of paint and the alignment of design elements. Review the workmanship and resolve outstanding issues before moving to the next stage.
5. Flooring & Wall Finishes
Flooring choices depend on the room's use, budget and design. Ceramic, porcelain, marble and timber flooring differ in appearance, durability, cleaning and maintenance requirements.
Check material quality, dimensions and suitability for each space, and follow the manufacturer's installation instructions. Bathrooms and other wet areas require appropriate waterproofing, falls and drainage.
Coordinate flooring colors with walls, doors and furniture to achieve a cohesive interior rather than selecting each element in isolation.
6. Paintwork, Ceilings & Lighting
Paint and lighting help define a villa's character. Light colors can make some spaces feel larger, while darker tones can highlight particular features when used in balance.
Plan lighting around each room's function. Kitchens need effective task lighting, while living rooms benefit from flexible lighting for different activities. Combine ambient, task and accent lighting where appropriate.
Before installing ceilings or purchasing light fittings, check connection points, ceiling heights and compatibility with the approved design.
7. Doors, Kitchens & Final Fittings
This stage covers doors, kitchen units, wardrobes, sanitaryware, lighting and accessories. Check dimensions against the actual spaces and review the installation quality and final finish of every item.
Protect completed floors and surfaces while the remaining work is carried out to reduce scratches, damage and rework.
8. Inspection & Handover
Before accepting the villa, compare completed work with the agreed specifications. Inspect paintwork, flooring, doors, plumbing and electrical fittings, and record anything that needs attention.
Document outstanding issues and agree how they will be resolved before final handover. Retain material, equipment and maintenance documentation where available.
How to Choose Suitable Villa Finishing Materials
Good choices consider more than price and appearance: assess quality, intended use, maintenance and suitability for the space. Key points include:
Flooring: Compare durability, ease of cleaning, slip resistance and suitability for the room.
Paint: Choose a product suited to the wall surface and surrounding conditions, and prepare the surface carefully before painting.
Doors: Check the material, finish and intended use, particularly when choosing between interior and exterior doors.
Lighting: Establish what each room needs before selecting fittings.
Kitchens & Bathrooms: Prioritize materials suited to moisture, cleaning and maintenance requirements.
Electrical & Plumbing Fittings: Check technical specifications and compatibility with the project's requirements.
Request samples or inspect materials before approving them, and record their specifications in the quotation. Compare alternatives on quality and expected use as well as the initial purchase price.
What Affects Villa Finishing Costs?
Costs vary between projects. An accurate budget requires the building's floor area, condition, finishing level and scope of work. The main factors include:
Villa Size: Floor area, room and bathroom counts, and the number of floors affect material quantities and the work required.
Building Condition: A new building may need first-fix installations, while renovation can require removing old finishes or repairing services.
Finishing Level: Costs vary with the materials, architectural details and fittings selected.
Interior Design: Ceiling details, joinery, lighting and bespoke elements can affect the budget.
Labor & Transport: Construction and delivery costs depend on the project type, location and scope.
Changes During Construction: Unplanned changes can increase both cost and delivery time.
For a more realistic budget, divide the project into clear work items, define quantities and specifications, and request comparable quotations. Allow a contingency for unexpected costs and finalize the price after the site survey and scope assessment.
Common Villa Finishing Mistakes to Avoid
Starting Without a Clear Plan: This can create conflicts between work packages and lead to repeated changes.
Choosing Materials on Price Alone: The cheapest option may not suit the intended use or maintenance requirements.
Delaying Electrical & Lighting Decisions: Late decisions can require changes after walls and ceilings are finished.
Repeatedly Changing the Design: Frequent changes can increase costs and delay construction.
Failing to Document the Agreement: Define the scope, specifications, quantities and exclusions in writing.
Skipping Stage Inspections: Inspect underlying work before moving to stages that conceal it.
A clear schedule and inspections at each stage help identify problems early and limit their impact on the rest of the project.
How to Choose a Villa Finishing Company
Choosing your construction team is an important project decision. Look beyond the overall price and marketing images: assess the clarity of the quotation, communication, supervision process and ability to explain materials and work stages.
Before agreeing, review previous projects you can verify and request a written quotation defining work items, quantities, specifications and exclusions. Agree how changes will be approved, payment and handover stages, and how outstanding issues will be recorded and resolved.
Compare quotations covering the same scope and similar material specifications. Price differences may reflect different materials, quantities or included work items.
Explore our projects and previous work, or visit our contact page for ways to get in touch.
Balancing Appearance & Practicality in Villa Design
Successful design combines visual appeal with ease of use. Start with your family's needs and daily activities, choose furniture suited to room dimensions, and allow appropriate circulation, storage and lighting.
Coordinate colors and materials across connected spaces, with distinctive details in selected rooms. Review the design and budget together before purchasing materials, avoiding attractive elements that do not suit your needs or available budget.
Villa Finishing: Frequently Asked Questions
What is the first step in finishing a villa?
Begin with a site survey, drawing review and a clear understanding of your needs and budget. Approve the design, materials and scope before construction starts.
What determines the cost of villa finishing?
Cost depends on floor area, building condition, finishing level, materials, labor, scope and required changes. Assess the work items before setting a detailed budget.
Is 3D design essential before finishing?
It is not essential for every project, but it helps you visualize furniture layouts, colors and lighting, and can reveal conflicts before construction.
How do I choose suitable finishing materials?
Compare specifications, quality, cleaning and maintenance requirements, and price. Choose each material to suit the space and its intended use.
How can I avoid going over budget during construction?
Define scope, specifications and quantities in advance, document changes, inspect completed stages and allow a contingency for unexpected costs.
What should I check at handover?
Review surfaces, paintwork, flooring and doors, test electrical and plumbing fittings, and record outstanding issues for resolution under the agreement.
Conclusion
Villa finishing requires careful planning and coordination between design, materials, technical work and construction stages. Clear specifications, budgets and scope make quality easier to monitor and help reduce unnecessary changes.
Before you begin, list the villa's requirements, set priorities, compare quotations against clear specifications and inspect each stage before moving on. Good planning supports a finished home that combines comfort, appearance and practicality.